Need TV Repair Services in Nairobi?
Certified technicians dispatched to you — same day.
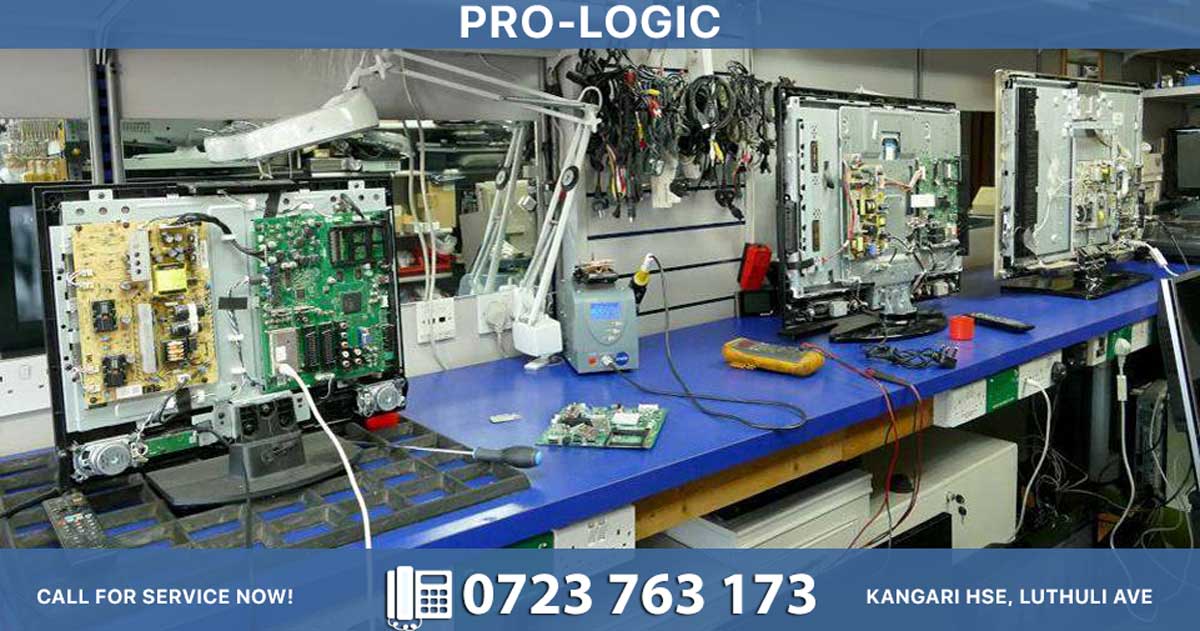
Dust accumulation inside a TV’s backlight chamber can reduce brightness, create uneven panels, and make colours look dull. While modern slim LED and OLED TVs are not designed for frequent internal cleaning, many LCD/LED models with removable backs allow careful dust removal. This guide explains how to safely remove dust from the TV backlight without damaging delicate components.
1. Decide If Internal Cleaning Is Necessary
Before opening your TV, check for symptoms of dust buildup:
-
Noticeable dim spots or uneven brightness across the screen.
-
A general reduction in overall brightness despite brightness settings being high.
-
Visible dust particles when viewing the screen from the side at an angle (on some models).
If your TV still performs well and brightness is even, aggressive cleaning may be unnecessary. For most users, a gentle exterior cleaning and managing dust in the room are safer and more effective.
2. Gather the Right Tools
Use only tools that minimise risk to electronics:
-
A soft, lint-free microfiber cloth.
-
A soft brush (new, clean makeup brush or camera lens brush).
-
A can of compressed air (cleaning-grade, not duster spray with chemicals).
-
A small screwdriver set (if your TV requires screws to remove the back).
-
A clean, flat workspace with a soft cloth or towel.
-
Optional: A plastic pry tool to avoid damaging clips.
Avoid using household vacuums, paper towels, or corrosive cleaners, as they can scratch surfaces or leave residue.
3. Prepare the TV and Workspace
Safety is critical when working with internal electronics:
-
Turn off the TV and unplug it from the power outlet.
-
Wait at least 15–30 minutes to allow internal components to cool.
-
Lay the TV on a soft, flat surface, screen facing down, protected by a towel.
-
Remove any external devices (antenna, HDMI cables, soundbars) to avoid accidental damage.
-
Ensure the room is well-lit but not overly dusty.
4. Remove the Back Cover (If Possible)
Many LED/LCD TVs have a removable back panel, but some ultra-slim models or OLEDs are not designed to be opened by users.
-
Check your TV’s manual for instructions on removing the back panel.
-
If screws are present, carefully remove them and keep them in a small container.
-
Gently pry off plastic clips using a plastic tool, avoiding metal tools that can crack or scratch.
-
Lift the back panel away, taking care not to snag internal wires.
If your TV does not have a removable back or you are unsure, skip to Step 6 and avoid opening the unit.
5. Clean the Backlight Area
Once the back is open, you can see the internal light chamber (LED strip, diffuser, and reflector panels).
-
Use a soft brush to gently loosen dust from the LED strip and diffuser panels.
-
Lightly blow compressed air across the area, using short bursts from a safe distance (about 10–15 cm).
-
Avoid touching the LEDs, diffuser films, or wiring directly.
-
Do not use liquid cleaners inside the TV.
-
Wipe the outer edges of the back panel with a microfiber cloth.
If dust is heavy or there is visible debris, consider professional servicing rather than continuing.
6. Reassemble and Test
-
Carefully place the back panel back and align all clips.
-
Reinsert and tighten screws where applicable.
-
Place the TV back on its stand or mount.
-
Plug in and turn the TV on.
-
Test brightness and uniformity with a neutral image or blank screen.
If brightness remains uneven, the issue may be more serious (e.g., damaged LEDs or diffuser), and professional repair may be needed.
7. Reduce Future Dust Buildup
To keep dust from accumulating quickly:
-
Place the TV in a well-ventilated area away from carpets and heavy foot traffic.
-
Use an air purifier or regularly vacuum your room.
-
Avoid smoking near the TV.
-
Clean the exterior screen and vents weekly with a microfiber cloth.
If you are uncomfortable opening your TV or your model has a non-removable back, contact the manufacturer or a qualified technician for internal cleaning.